In today’s world of mindful fashion and sustainable living, learning to mend your clothes isn’t just a practical skill — it’s an act of care for both your wardrobe and the planet. One of the most common issues we face with our favorite garments is a loose neckline.
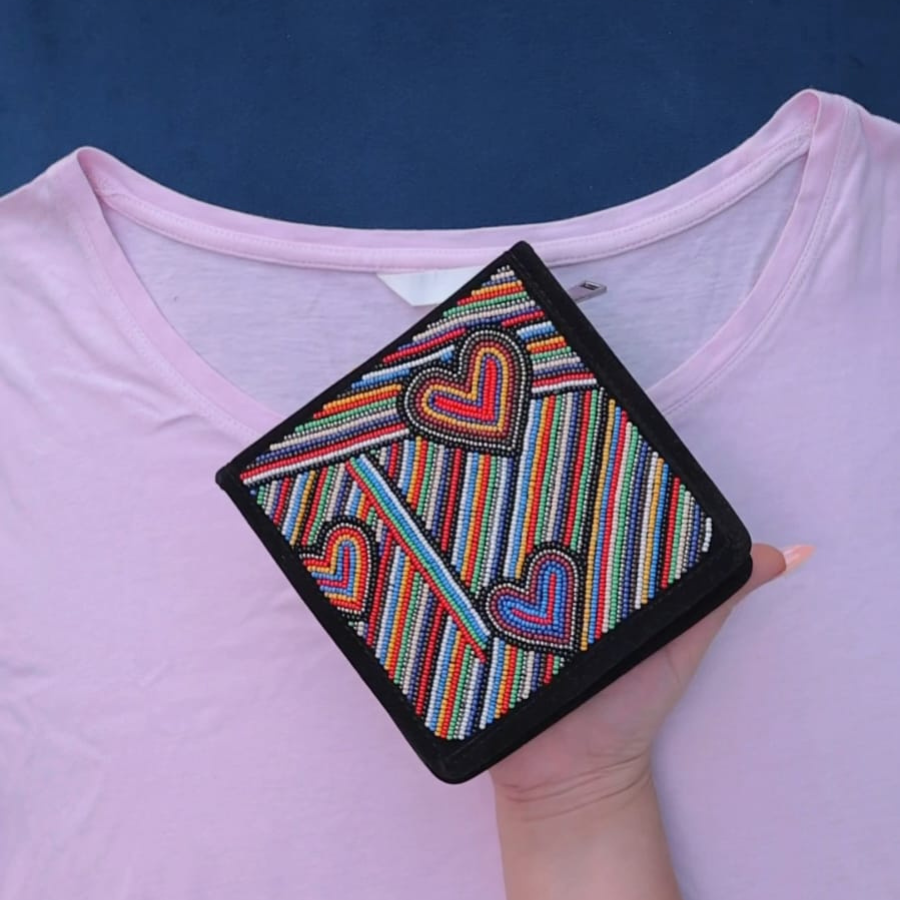
Instead of discarding a beautiful top or dress, you can restore it easily with simple hand embroidery techniques. Using a rice stitch and a reclaimed fabric kit from The Sewing HQ, you can transform a worn neckline into something stylish, durable, and unique.
Why Choose Hand Mending Over Replacing
Fast fashion encourages us to replace clothing at the first sign of wear, but mindful mending allows you to slow down and appreciate craftsmanship. Repairing your garments by hand:
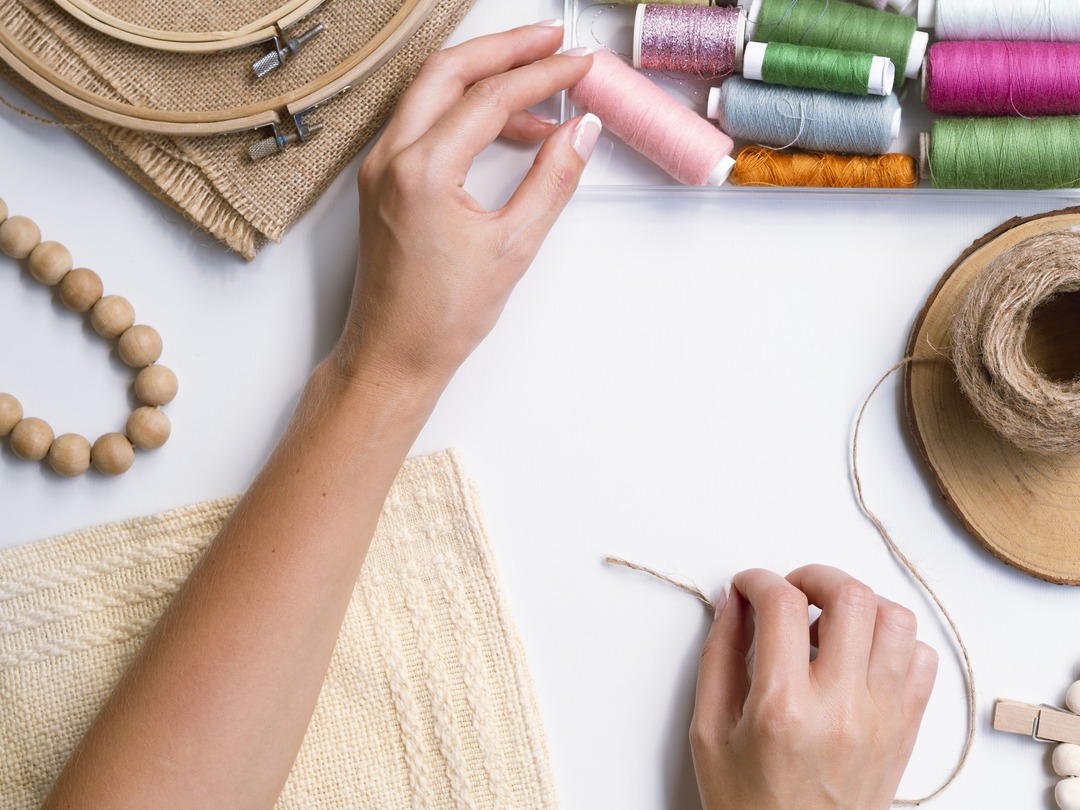
The Sewing HQ UK’s eco-friendly embroidery kits, made from reclaimed fabrics, make this process even more rewarding. Each kit comes with carefully selected materials, threads, and easy-to-follow guides that let you give old clothes a new life.
Understanding the Problem: Loose Neckline
A loose neckline happens when the fabric stretches out or when stitching weakens over time. This is common in cottons, jerseys, or older garments that have been worn and washed repeatedly. Instead of letting your favorite piece lose its charm, a few neat hand stitches can bring back its original fit while adding subtle decorative flair.
5 Simple Hand Stitches to Mend a Loose Neckline
Let’s explore five easy hand embroidery stitches that work beautifully for neckline repair, including the essential rice stitch — your star technique for this project.
- Running Stitch- The running stitch is the simplest and most versatile. It involves passing the needle in and out of the fabric in a straight line. For neckline mending, use it along the stretched area to gently tighten the neckline edge. It’s discreet yet strong and serves as the base for more decorative stitches.
- Back Stitch- For stronger reinforcement, the back stitch works wonders. It forms a continuous solid line, perfect for reinforcing the neckline seam. When done evenly, it also looks neat and elegant. You can even outline the neckline edge using this stitch to prevent future stretching.
- Blanket Stitch- The blanket stitch is great for edges that need extra durability. It not only secures the fabric but also adds a decorative border. Use it around the neckline facing or along the edge of a facing fabric patch made from reclaimed material. It gives your garment a polished, artisan look.
- Whip Stitch- If your neckline seam has come loose or if you’re attaching a facing, the whip stitch helps bind the layers securely. It’s fast, effective, and ideal for curved edges like necklines. The key is to keep your stitches small and even for a clean look.
- Rice Stitch (The Hero Stitch!)- The rice stitch is perfect when you want your mending to double as embellishment. It’s created by layering small diagonal stitches in alternating directions, forming a beautiful cross pattern. This textured stitch not only tightens the neckline area but also adds a decorative element that elevates the design.
Tip: Use matching thread for invisible mending, or a contrasting shade for a hand-stitched accent.
Best For: Cotton blouses, linen tops, and soft woven fabrics.
Pro Tip: Use thread from your Sewing HQ kit to match the reclaimed fabric tones for a cohesive finish.
Added Touch: Use recycled cotton or linen thread for a truly sustainable repair.
Here’s how to use it:
- Mark the loose area around your neckline.
- Start with a simple diagonal stitch from bottom left to top right.
- Cross over it with a second stitch from bottom right to top left.
- Continue in a grid-like pattern until the neckline feels firm and even.
The rice stitch distributes tension evenly, preventing further stretching and making your repair durable. It’s ideal for those who want their mending to look intentional and stylish.
Why Use Reclaimed Fabric
Reclaimed fabric isn’t just about sustainability — it’s about storytelling. Each piece has a history and texture that adds depth to your handmade repairs. When you use The Sewing HQ reclaimed fabric kits, you’re choosing materials that are:
By combining reclaimed fabric patches with embroidery stitches, you can reinforce weakened neckline areas, conceal minor frays, and create a one-of-a-kind look.
Step-by-Step Quick Fix with The Sewing HQ Kit

- Prepare the neckline: Press it flat and mark the stretched section.
- Select thread and fabric: Choose complementary tones from your kit.
- Reinforce if needed: Use a small reclaimed fabric patch beneath thin material.
- Stitch mindfully: Begin with a running or back stitch for support, then layer rice stitch detailing over it.
- Press again: A gentle steam press will smooth the embroidery and help the neckline settle perfectly.
Sustainable Fashion Starts with You
Every small act of repair reduces fashion waste and supports ethical consumption. When you mend your clothes using hand embroidery techniques, you’re choosing artistry over fast fashion. With a simple Sewing HQ reclaimed fabric kit, you’re not just fixing a neckline—you’re embracing creativity, sustainability, and the timeless beauty of handmade craftsmanship.
So next time your neckline loosens, don’t toss that top away. Pick up your needle, thread, and reclaimed fabric — and let the rice stitch bring it back to life, one elegant cross at a time.